I had the student look over the spread and see the colors, and then write them down, this is so they are away of what colors to start with, helps pull the whole spread together.
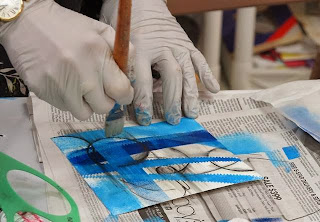
Then we moved in with a bit of gesso and added some texture and created areas of resist. Let's say we Mucked it up a bit..had some fun loosing up and smearing good white stuff all over. I use a plastic gift card or a old blank charge card you get in the mail..
Creating a stencil from an image out of the magazine...any simple shape. The students can use the two piece to create a great stencil...ward of warning watch out for the thinner acrylics or paints when sponging in and around the area...to thin will run under and blur the image..."mine did that and well it's going to be a happy accident later. I showed using the pear yesterday as a shape.
With the awareness of the colors that were in the image I chose I can start there by bring in color. Working with a baby wipe I spread around the color and applying it and subtracting it off as will. I can mix the colors in value to create different effect and bring in a few other colors too.
Simple image transfer with clear packing tape..make copies with toner or laser printer and spread a bit of tape over the image..Burnish it with a handle of a brush to make sure the tape is really sticking all over and then cut around the words or shapes, and soak for a bit in water. Then rub off the paper back and you have a clear packing tape image transfer to re stick in your visual journal..some times the tape isn't to sticking after this process so use some glue/gel medium to glue it in place.


Comments
Post a Comment
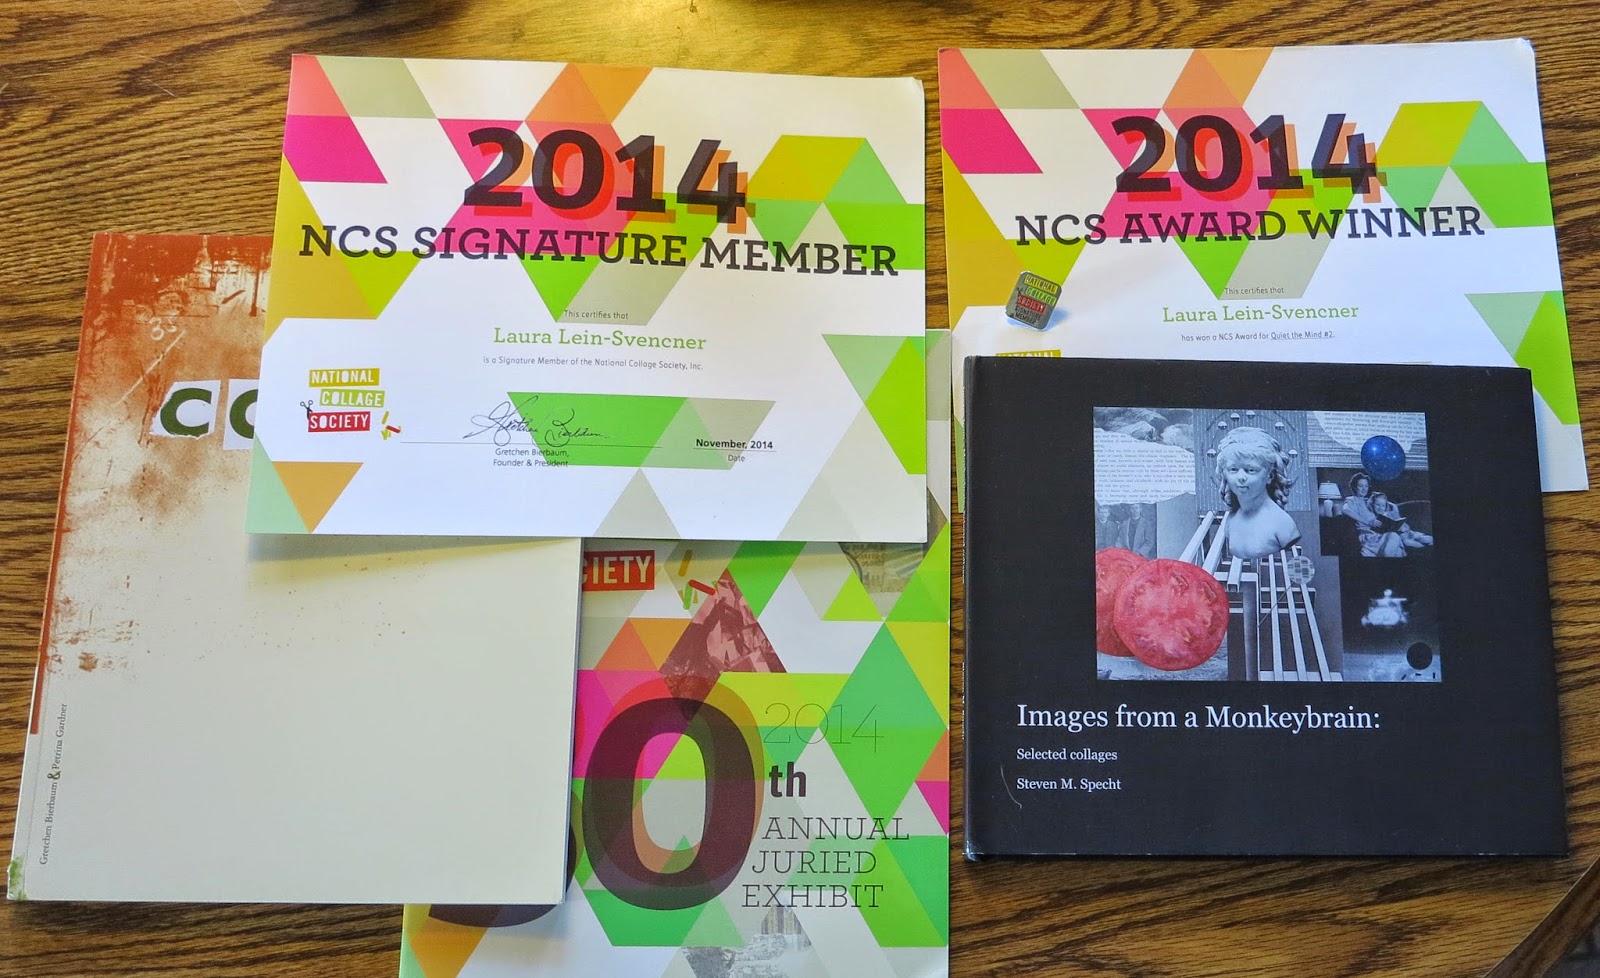
Thank you for support, interest and viewing my inner life with my outer life on this Blog. Wishing you many creative blessings and peace to you and yours,
~v~Laura